 While the name, Frozen Hot Chocolate, really makes no sense, it still sounds delicious. In fact, Serendipity, a famous ice cream parlor in New York City, has made the name synonomous with heaven.
Tag Archives: cooking
Faux Chicken Wings (Healthy Cauliflower)

Make Your Own Decorative Ice Bowl

Since my dinner party guests usually consist of a husband who will eat anything I serve (God love him) and kids who will spill anything I serve, I don’t spend much time on the visual presentation of our meals.
I thought I’d share this serving idea anyway because it was fun to make and you may actually be looking for a presentation idea right now.
All you need are two different sized glass bowls.

Fill the larger bowl with about an inch or two of water and place in the freezer for a few hours.

Remove bowl from freezer and place the smaller bowl inside the larger one. You will have the inch of ice separating the bowls.
Tape the smaller bowl down to the larger one.

Fill in the gap between the bowls with water.

Now place any decorative items you want into the water between the bowls. I used lemons and orange slices but you could use herbs, flowers, candies, etc. Depending on what you will be serving in the bowl, you could get really creative like filling it with coffee beans if you’re going to serve coffee ice cream. Or maybe small candy canes to serve peppermint ice cream. I could go on and on here, but I’ll move on.


Apply another strip or two of tape to hold the bowls together well and freeze overnight (or at least 10 hours).

Remove from the freezer and remove the smaller bowl from the middle. Turn remaining bowl upside down. It helps to run warm water over the bottom of the bowl for a few seconds to help break away the ice bowl from the glass bowl.

Carefully remove the ice portion from the glass and now you are super fancy with a decorative ice bowl.

You can make smaller ones to serve single servings of sorbet or fruit to guests or make larger bowls to hold cold items at a party. The bowl should stay frozen for an hour or two indoors but it’s best to keep in the freezer until ready to serve.

Have Fun!
If you enjoy easy DIY ideas, click the Follow button now and they will come right to you! Thanks!
Cupcake Cones
If you’re looking for a fun idea for a kid’s birthday (or for any day), these cupcake cones are great. They are a nice alternative to regular cupcakes.

To begin, just prepare your cake mix as you normally would. Line up your cones (the cake cones with a flat bottom) on a cookie sheet or place them inside a cupcake pan. Scoop your batter directly into the cone. Fill a little more than halfway.

Bake for about 20 minutes or until toothpick comes out clean. Let cool.
While those are baking, you can prepare your frosting. If you use store-bought icing, you’re all set.
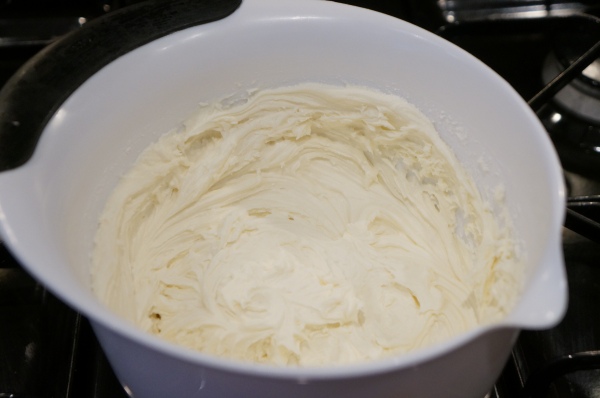
My favorite homemade icing recipe is super easy, though. Using a hand-held blender, blend 1 stick of softened butter with 4.5 cups powdered sugar, and 1.5 teaspoons vanilla extract. You can add 5-6 tablespoons of milk to get the desired consistency.
Once your cake is cooled, ice it like you would a cupcake.

If you have a pastry bag, great. Or you can scoop your icing into a ziplock bag and cut the tip off to make your own.


Then just squeeze on your icing. You can add food coloring to your icing if you want specific colors. I used colored cones so I stayed with white icing.


Top with sprinkles or whatever topping your want and you’re all set!

Kids love them, of course.


It’s always fun when they discover the cake on the inside.


You can also just top the cones with ice cream instead of icing for a regular ice cream cone with a surprise at the end!

One warning is that the cones don’t really keep well (the cone gets soft) so it’s best to serve them the same day you make them.
Have fun!

For more fun ideas, click the Follow button in the sidebar now and these posts will come right to you!
Thanks!
Fluffy Pizza Bites

I’ve been seeing recipes for these pizza bites around and every time I saw a picture, my mouth would start to water. To me, this is the ultimate comfort food. Add a side of macaroni and cheese and a hot chocolate and you can get through just about any horrible day.
Normally, I like to create a healthier version of a recipe, but for these, you just need to go all out. Enjoy every carb!
To begin, you will need:
-2 cans of pizza crust
– 3 cups mozzarella or pizza cheese
-Pepperoni
-Olive oil
-Garlic powder
-Marinara sauce

Some recipes called for biscuit dough but I found it to be too, well, biscuity. I like the pizza dough better.
First, unroll your dough and cut it into bite sized pieces.

Cut your pepperoni into quarters.

In a large bowl, mix together your olive oil, garlic powder, dough bites, pepperoni pieces and cheese. Mix with your hand until all the pieces are covered in the oil.

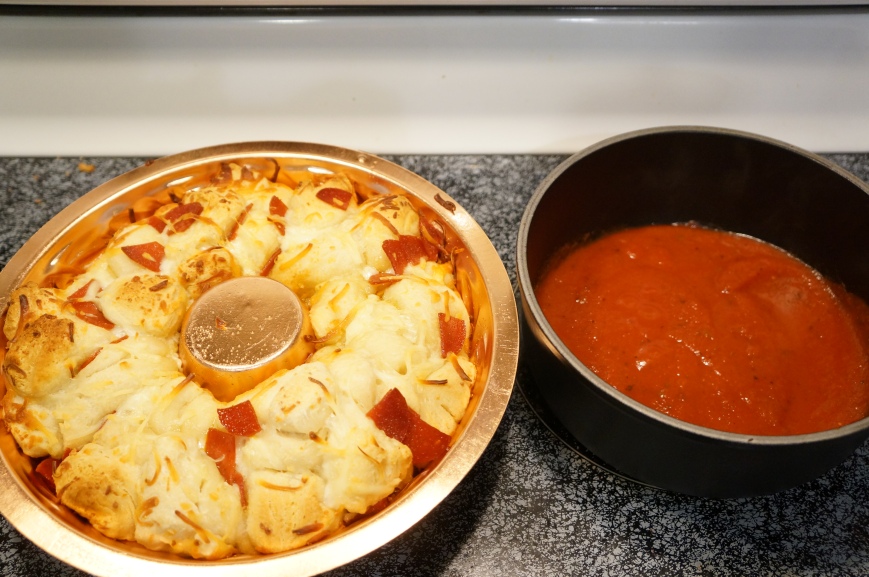
Pour into a bundt pan and/or other baking pan. This recipe makes enough to make two pans.

Bake on 350 for 30-40 minutes or until the pieces are golden brown.


Serve with warm pizza sauce.
Enjoy!! And have nothing to do afterwards except lie on the couch 🙂
If you enjoy these posts and don’t want to miss any, Follow Maggie May’s now.

Healthy Ice Cream (non-dairy)
If you are avoiding dairy or just looking for a healthier version of ice cream, you will love this recipe.

It is so easy and tastes amazing. Plus, it has no dairy, added sugar, or weird ingredients.
All you need are:
2 (frozen) bananas
1 tablespoon almond or peanut butter
1 teaspoon cocoa powder
3-4 tablespoons almond milk.
For a low-fat version, just omit the almond butter.

First you will want to slice up some bananas and put them into a freezer bag.

Be sure to separate the pieces so they freeze flat. Otherwise you can get a big clump of banana slices when they all freeze together.
This is a nice way to save a bunch of bananas that aren’t going to make it much longer.

Slice them up and freeze them so you have them ready when you get a sweet craving. You can freeze them in single serving bags to make it easier. I usually do two bananas per bag.
When you are ready, pour a bag of your frozen bananas, carob powder, almond butter and almond milk into a food processor.
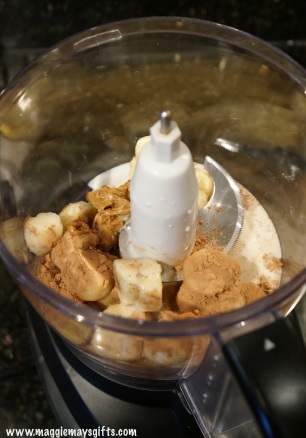
Blend for 1-2 minutes or until smooth and you are done. If you want more of a milkshake consistency, just add more almond milk.
I love this treat because kids think they are getting a sweet dessert but it’s actually all good stuff!

You can also do this with frozen strawberries for a version of strawberry ice cream. I’d love to hear your variations on this. I’m sure there are a ton!
*
For more free, fun, DIY ideas, click the Follow button now!

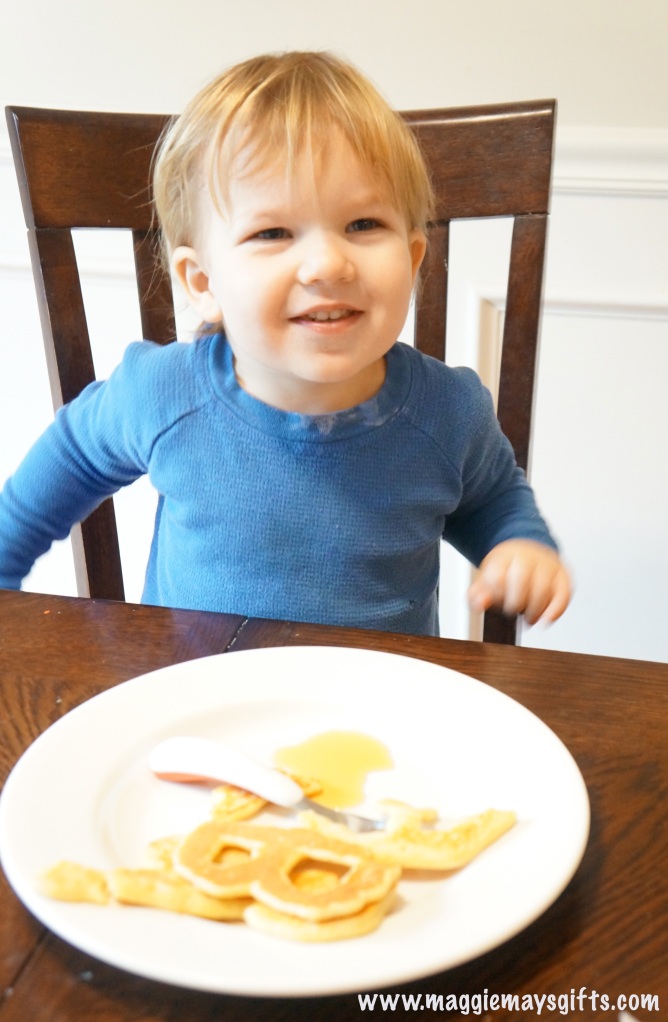
Fun With Pancakes
Does it feel like you are in a breakfast rut?
With very little effort, you can serve up a big plate of alphabet fun.

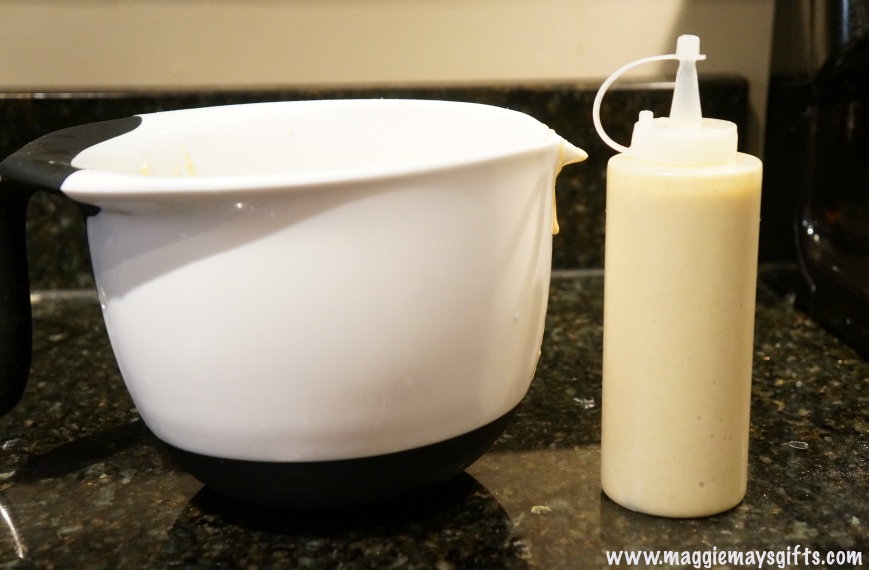
All you need is your favorite pancake mix and one of these little condiment containers. They are really cheap and will be in the kitchen gadget section.
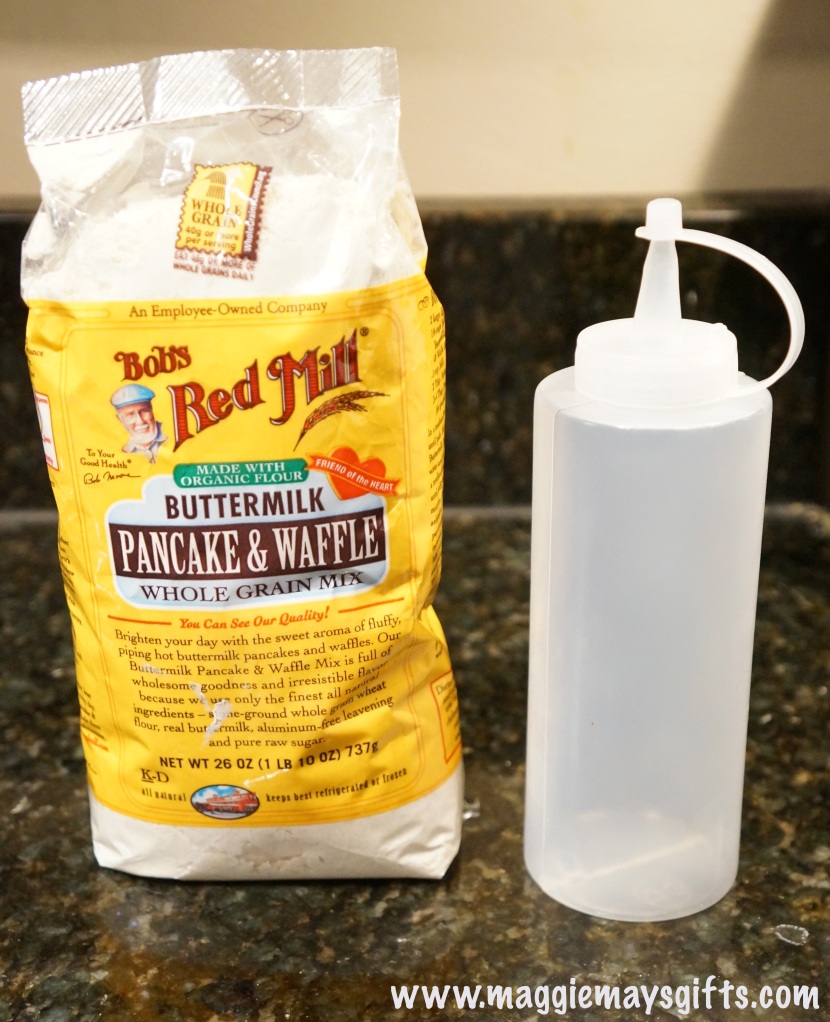
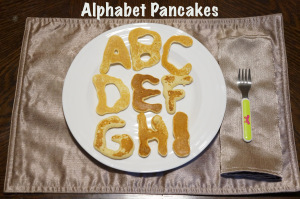
Prepare your pancake mix as directed and pour the batter into your container.
Heat your pan and squeeze your design onto the pan and prepare as you would regular pancakes.
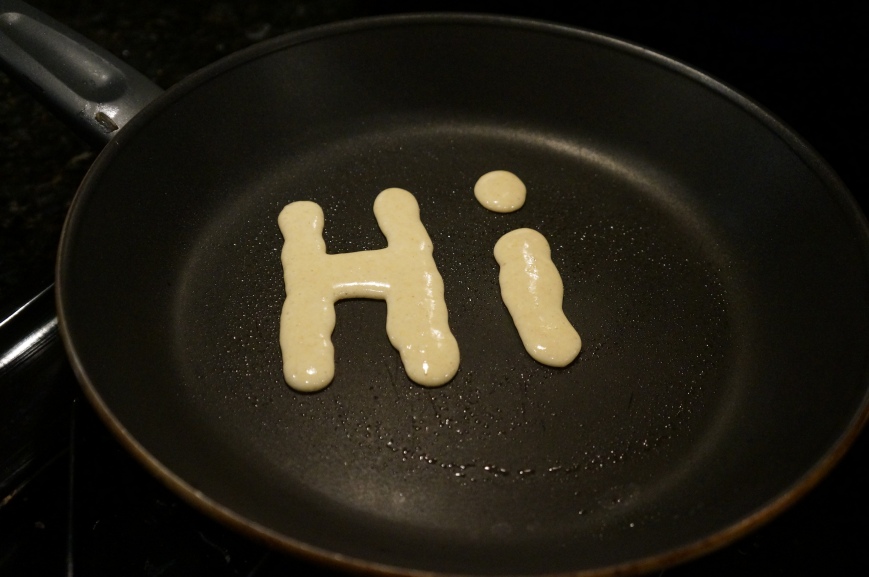
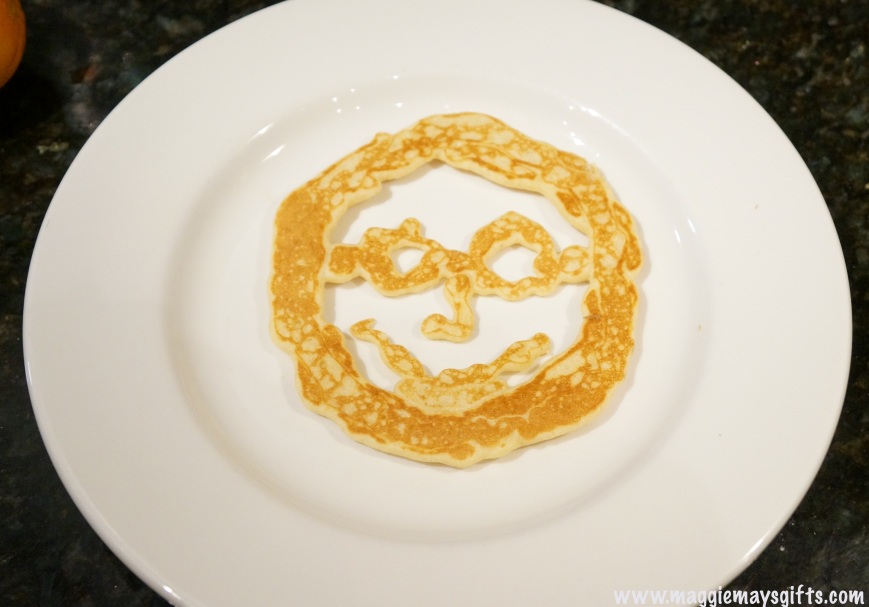
You can get as creative as you want…
The narrow tip makes for good precision in your artwork.
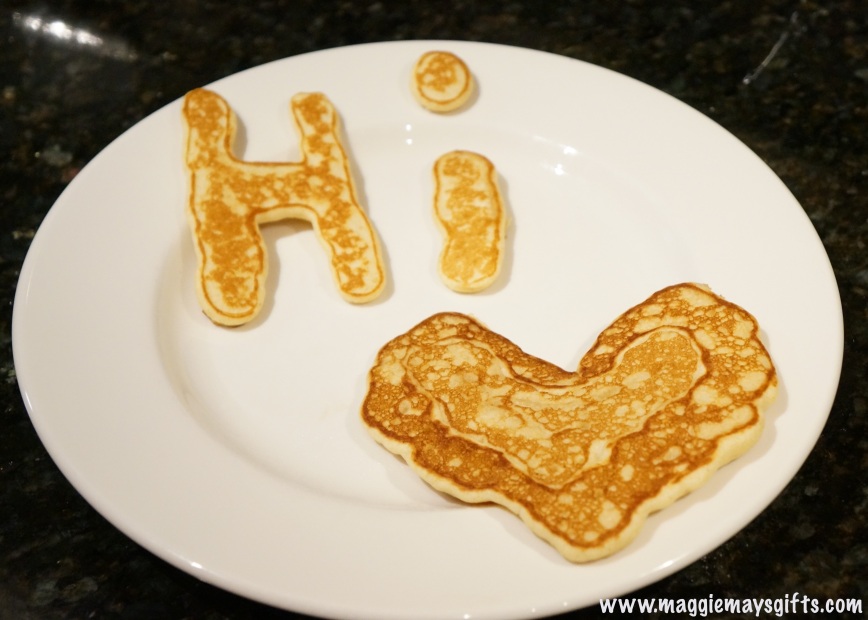
The alphabet and numbers are fun for young learners…
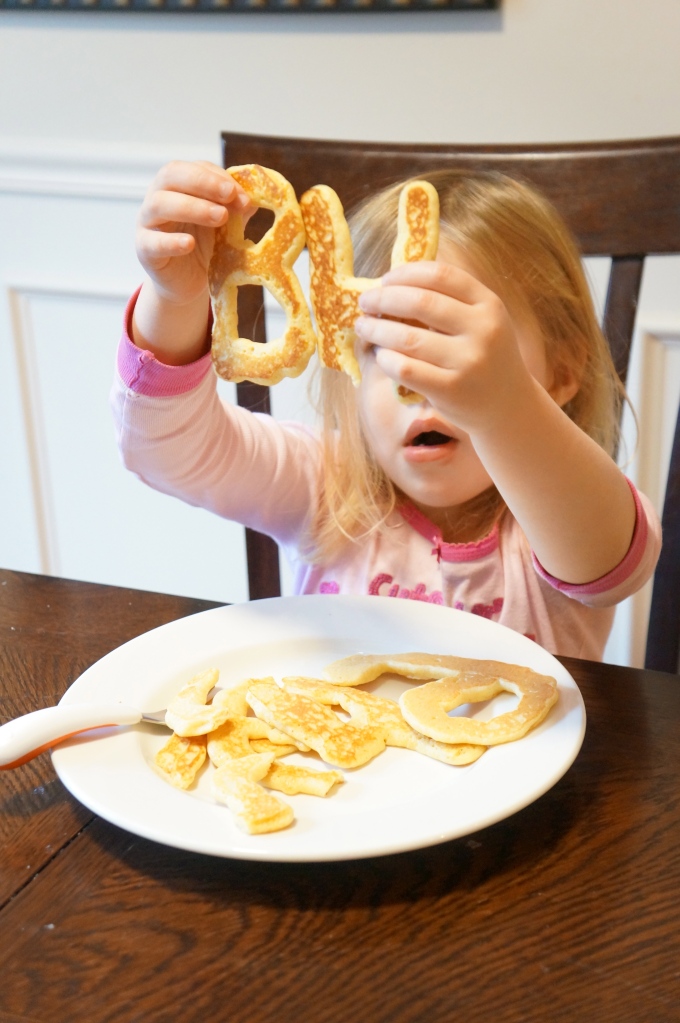

Bon appétit!
If you enjoy free, easy DIY ideas, click the Follow button now!
You Are Special Today Plate
Does this plate look familiar to anyone?

When we were little, we were allowed to use this plate on our birthdays and on a big occasion like graduation. It wasn’t an option to use it other times (at least, I don’t remember asking to). It was truly for special occasions.
For that reason, it really did make you feel special sitting there, usually beaming, with the bright red plate at the dinner table.
I know they still make these plates, but I thought I would experiment to see if I could make my own.
There are many tutorials out there regarding this and many of them suggest different things. Some say a regular Sharpie works fine while some say you have to use a porcelain paint pen. Since I already owned colored Sharpie markers, I decided to experiment with those first before buying anything new.
My assistants and I did a test run on a couple old pieces.


To get started, you will need some Sharpies or porcelain pen markers and a plain porcelain plate. I bought mine at the dollar store.
Draw on the surface with your markers and let dry completely. You can use a stencil template or just draw free hand.

Place in oven and THEN turn oven on to 350 degrees. These pieces can be delicate and you don’t want to shock the piece. This allows it to slowly heat with the oven.


Let bake for 30-45 minutes.
Leave in oven to cool completely. Don’t take out to cool. They will be HOT.
Wash well with soap and water. Dry. Enjoy.

Here are my findings.
Sharpie will work just fine but if you hand wash the items, you cannot use an abrasive sponge. It scratches off the marker. Hand washing with a regular soft sponge is fine. I tested mine in the dishwasher and it started to fade. I recommend hand washing only.
I’m conflicted on the toxicity factor. On one hand, it is permanent and doesn’t wash off without abrasive scrubbing so I am not worried about it rubbing off onto food. And since this plate will only be used a couple times a year, the exposure level would be low.
Ideally, you could do this project with a mug and only draw on the outside of the mug. Problem solved.
But for this project, I just played it safe and mainly drew on the outside of the plate, leaving the food area clean.
This would be a fun project for the holidays. Buy some cheap mugs or plates at the dollar store and let each of your guests have their own personalized place setting.

Have Fun.
Fall Squash Pumpkins
If you have picky eaters and need to disguise your vegetables or if you just want a fun fall idea, these little squash pumpkins are perfect.

All you need is Butternut Squash, nutmeg, cinnamon (or whatever spices you enjoy), raisins for the eyes and mouth and pieces of walnut for the stem.
 Cook the squash as directed (I usually slice mine in half and bake or microwave it until it is soft). Mash the squash up in a bowl and add nutmeg and cinnamon to taste.
Then just scoop about 2 tablespoons out and make a small ball with your hands. Poke raisins in as eyes and a mouth and a piece of walnut for the stem.

This makes a great side dish with dinner or as a snack.

The nutmeg and cinnamon give the squash a sweet taste so it actually also goes well in ice cream.

Yum! Enjoy!
*
If you enjoy easy, DIY ideas, click the Follow button so you don’t miss any!
