The BEST gift you can give your kids (Hint: It’s Free)

I’ve been working on a project for a while now that I can’t wait to share with you soon! The project involves connecting with the generations before us to draw out their best stories~the stories that made them who they are. It’s been a lot of fun (and a lot of work) but I think it’s really important so it’s become sort of a passion project 🙂

In my research, I’ve connected with people who share similar philosophies and are doing their own exciting work. One person, in particular, is Jennifer from Tales of a Peanut. She has an online paper and gift shop with all kinds of beautiful paper products. Her latest line is called Handwritten Heritage.

handwritten heritage2

Photo courtesy of Handwritten Heritage

Continue reading

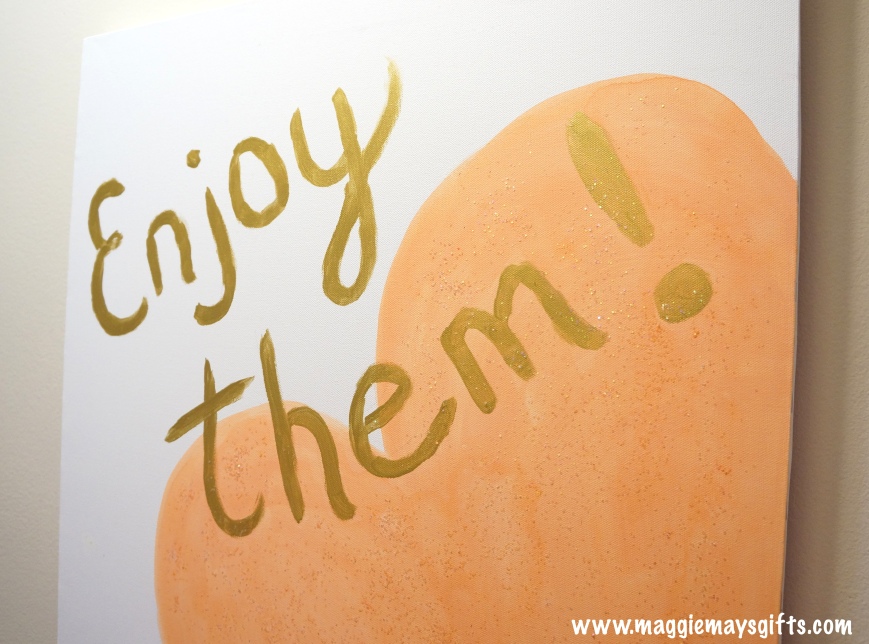
Artful Reminder To Enjoy Your Kids

DSC06945A phrase my dad often says when referring to my kids is, “Enjoy Them.”

I appreciate hearing that because, quite frankly, I can use the reminder. It’s so easy to get caught up in raising our kids that sometimes we forget to just enjoy them. Thankfully, grandparents are excellent reminders of this. Continue reading

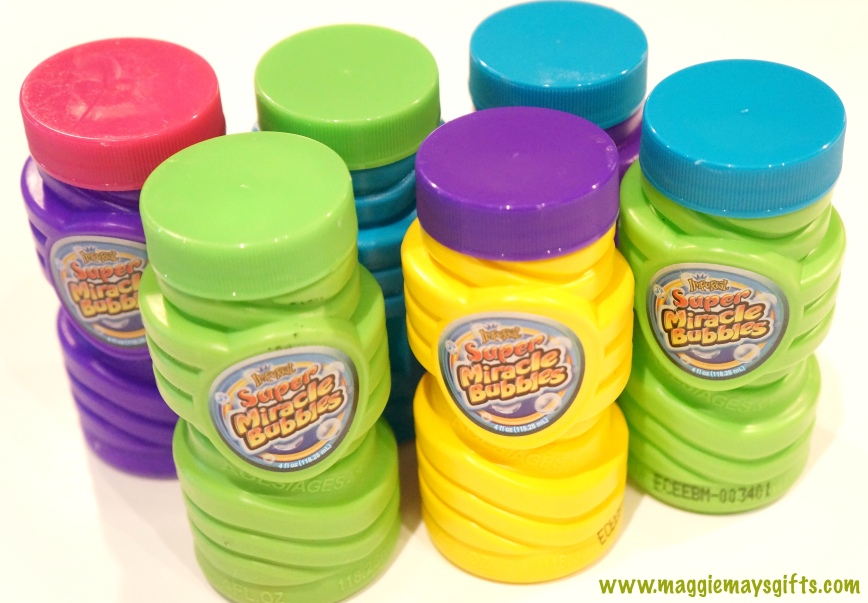
How To Make Your Own Bubbles

DSC05779

I bought this six pack of bubbles thinking they would last us a while but my two year old managed to dump three of them out in a matter of fifteen minutes of playing with them.

They aren’t expensive but how quickly we were going through them made me want to see about making our own solution. Continue reading

Easy Way to Display Kids’ Art

Easy Way To Display Kids' Art

In February, I made a Love Wall to display in Starbucks. To make it, I had to use up frames from around our house which left our living room wall sad and bare.

Easy Way To Display Kids' Art

Since this room is currently in transition (i’m trying to slowly replace all the browns and dark with bright and colorful), I wasn’t ready to buy any artwork for this area. In fact, I had no idea what I wanted to do here.

All I knew is that I was sick of looking at a blank wall.

I decided to let my kids handle the decorating until I figured out what to do.

There are a lot of great ways to display kids’ art, but I decided on using open frames to hang them. It is easy to swap out the pictures and it’s lightweight to hang.

I’d been looking around for the right frames but was having a hard time. Then I stumbled across a garage sale that had these three frames which were perfect. I love when that happens!

Easy Way To Display Kids' Art

I removed the glass and backing and measured out jute roping to fit across the back. I tied the end in a knot to hold better to the hot glue, which held it down.

Easy Way To Display Kids' Art

Depending on the size of your frame, you can have one or more art hanging lines.

DSC05703

I just hung them on the wall.

Easy Way To Display Kids' Art

And then I put my kids to work.

Easy Way To Display Kids' Art

Using a clothes pin, I hung their artwork and that was it.

Easy Way To Display Kids' Art

I like that this designates a spot for their art instead of getting randomly taped around the house.

Easy Way To Display Kids' Art

I realize I fell into my old habit of using earth tones (jute) for this project. Rethinking this, these frames might look cute with a bright, decorative ribbon instead. Or if you hang them in a child’s room, a pastel, satiny ribbon would be pretty.

Lots of options. Have fun!

*

For a new, DIY idea to come right to you each week, follow this blog now and enter your email address. Don’t worry, your information will never be shared with anyone!

How to Make a Kids’ Activity Corner

I’ve been looking for a way to buy myself a few minutes to get dinner ready when the little people in our house need dinner NOW.

We have this little corner in our dining room that I can see from the kitchen and I thought it might be a perfect place to make an activity corner to keep kids entertained while they wait.

DSC05610 DSC05609

I’ve been thinking about this for a while but hadn’t come across exactly what I was looking for to make this happen.

Until I saw this little organizing shelf. It was perfect.

DSC05611

This rack actually was the perfect size to hold my yogurt tubs that I have an insane collection of. I just covered them in a fabric that matched the room using my DIY Mod Podge mixture.

DSC05612

I just cut the fabric to size and covered the tub in the glue, then the fabric and then painted another (liberal) layer of glue on top of the fabric.

DSC05613

Once that dried completely, I filled the tubs with game pieces and other items they would need in their corner.

We have a little table that we put in the corner and hung our new rack as low as possible so kids could reach the shelves.

Then we filled the shelves with the decorated tubs, markers, puzzles, activity books, and paper.

DSC05619

Then we hung the “Corner Rules” and that was it.

DSC05620

DSC05618

I think they are excited to have a little place of their own.

DSC05628

DSC05634

And I’m excited to have a few extra minutes to myself!

So, if you are like us and don’t have a ton of space, this activity corner is a great way to give your kids their own little area.

Make a kids activity corner

*

For a free DIY idea to come directly to you each week, hit the Follow button now. Thanks!


Supernanny To The Rescue

Whenever I watch Supernanny, I usually just sit in awe of Jo Frost (the Supernanny). She is firm, patient and kind and the kids all love her.

Sometimes watching it is stressful though, because at the end of the day, the last thing I want to watch is a show with kids screaming, running around and misbehaving. I prefer The Real Housewives of Orange County where it is the adults doing that. Much more relaxing.

When I discovered how many books Jo Frost has written, I got very excited. Now I could learn her magic without having to see and hear all the craziness.

I’ve only read two so far but I love how she relays different scenarios and then gives her advice on how to best handle them. She makes every solution seem doable for anyone. Also, I appreciate that her foundation for caregiving is love with an emphasis on discipline and manners.

This is one of her older books which was the first one I read.

51ZN203AK3L._SX258_BO1,204,203,200_

And this is what I’m reading now, which is brand new.

Jo_Frost_Toddler_Rules-e1382573644365

Here are a few other titles if you’re interested.

Jo-Frost-Toddler-SOS-233x300 JoFrost1

Jo-Frost-Toddler-book-246x300


She also has a website if you are looking for more, http://www.jofrost.com.

If you have small kids and are looking for some inspiration, I hope this helps. Her advice is basic, timeless, and been proven effective again and again.

*

For free, DIY ideas to come right to you each week, hit the Follow button now!

Easy Peasy Balloon Garland

When it comes to birthday parties, the main thing I look for in the food and decorations is easy.

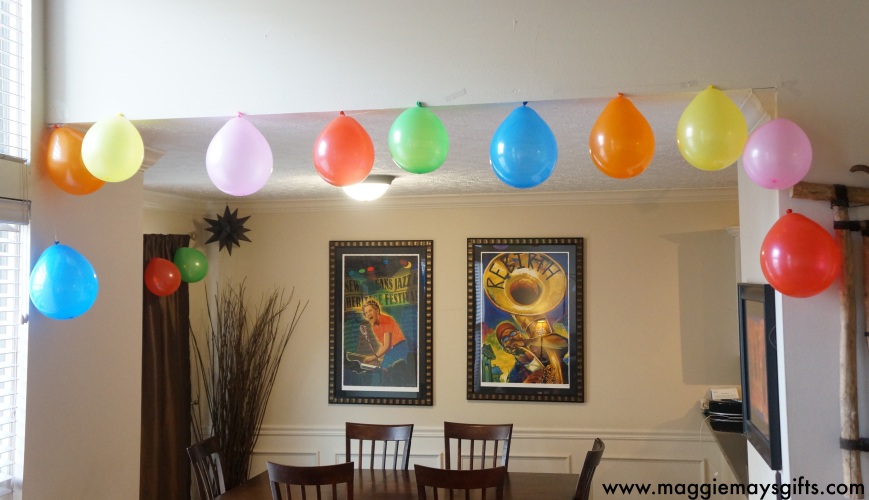
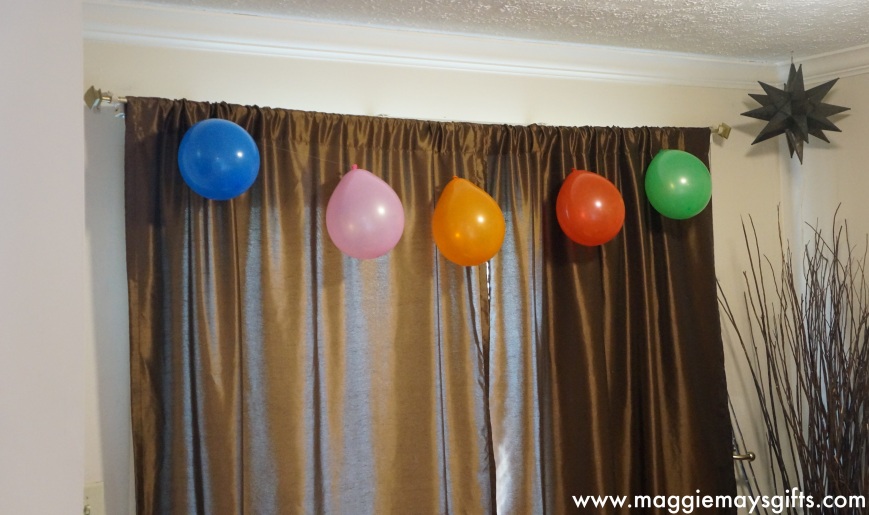
When I wanted to add a little flair to my son’s 2nd birthday, this balloon garland was the easiest thing ever.

DSC05310

All you have to do is blow up a bunch of balloons and tie fishing line around the knot of each one.

DSC05307

Make sure to leave a foot or two of fishing line at both ends of the garland to help with hanging it.

Once your first balloon is tied, tape it to a hard surface to keep it in place while you tie the others. Otherwise, the balloons start floating around and you could have a tangled mess.

DSC05304

DSC05305

Once your garland is the length you want, you can tape it or tie it wherever you like!

DSC05313

DSC05310

With any leftover balloons, fill a couple garbage bags full and dump them onto the kids from a loft area 🙂

DSC05308

By using select colors, this garland make an easy decoration for baby showers or other themed parties.

For some reason, the balloons stay full when hanging upside down like this, so this might be a good decoration if you have a longer celebration and you want them up for a week or two!

You could also use this garland to line the doorway of the birthday boy or girl. Here is my daughter’s doorway on her birthday.

DSC05596


Easy Peasy. Have Fun!

*

For a new, free DIY idea to come to your email each week, click the Follow button now. Thanks!