Tag Archives: Christmas

Give Your Spring Décor A Winter Look
 If you have a little bit of paint, you can transform many of your spring décor items into winter pieces quickly. I’ll share one example.
I found this adorable birdhouse but I didn’t like the color. It might work in the spring or summer, but winter is a-comin’. Continue reading
Does Santa Get a Thank You Letter?

How To Make a Paper Snowflake

Christmas Cards Holder
Now that December is here, the holiday cards are beginning to trickle in. It is always so fun going to get the mail during the holidays because cards, letters, and photos from friends and family begin arriving.

I feel like every year I try to come up with a place for all the cards. This is tricky because space is limited but we want them to be displayed so we can enjoy them all season.
This year I finally came up with a perfect solution for us. It is a wreath that is used to hold the cards.
First, you need a Styrofoam wreath. They sell them at any craft store. I happened to have a piece of foam that I wanted to use up, so I’ll share how I made mine. If you had any gifts or purchases shipped recently, sometimes they are shipped with these foam pieces.
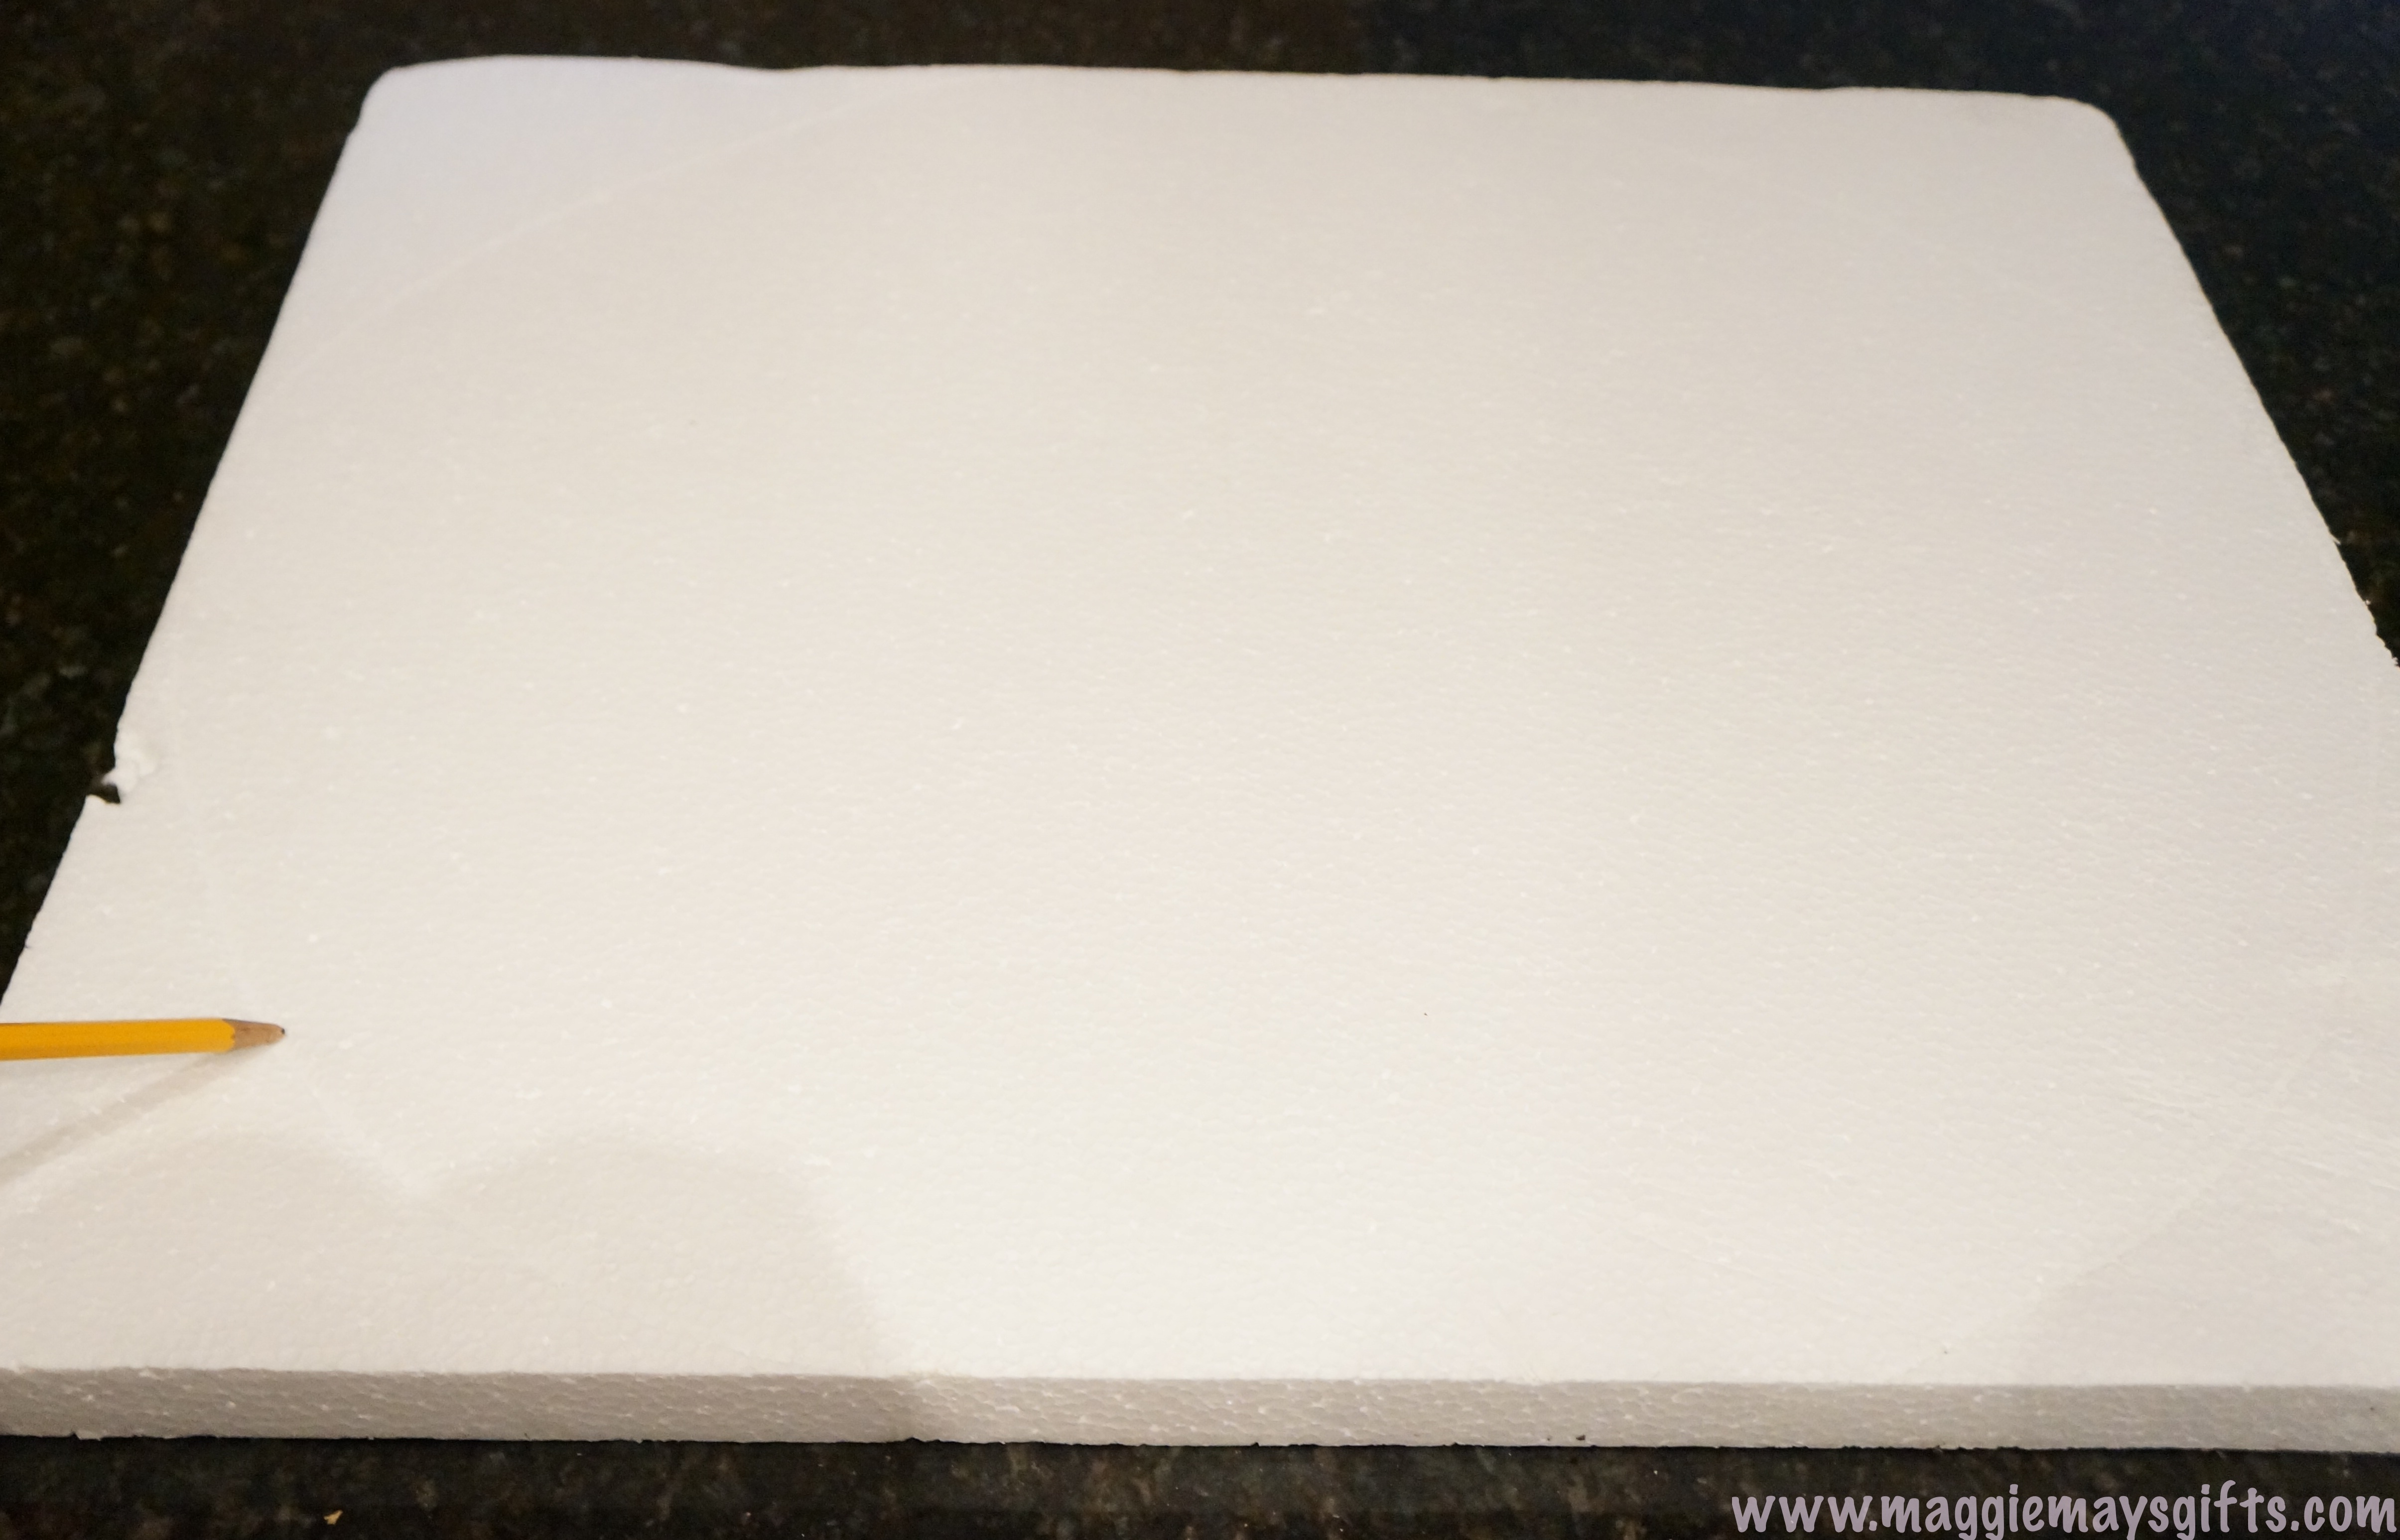
If you’re using a sheet, draw a large circle on it and cut it out with a sharp knife. If you bought a foam wreath, you can skip ahead.

Draw another circle in the center and cut that out.

Now you have a Styrofoam wreath base.

Next, tear long strips of fabric and wrap them around the wreath until it is covered. You could even use an old table cloth or sheet. Use hot glue to glue the ends of the pieces down in the back.

Tie a bow on the top.

And add a hook to hang the wreath. I just bent a large paper clip and hot glued it to the back of the bow.

Now it is ready to hang.

Then using sewing pins, attach your cards right onto the wreath.


You will probably want to make a few of these depending on how many cards you usually get.
Just hang them wherever you like around the house for all to enjoy.

Advent Calendar of The Christmas Story
As we are about to enter the season of Advent, I thought this would be a good year to start using an Advent calendar to prepare for Christmas.
One of the traditions I’d like to ensure in our home is to incorporate the Christmas story throughout the holidays. I realized I probably knew T’was the Night Before Christmas better than I knew the actual Christmas story and I wanted to change that.
For this Christmas Story Advent Calendar, we are going to reveal a bit of the story each day until Christmas Eve when we will read the whole story together.

This version is really easy. All you need is:
- Green and red card stock cut into 3 x 5 pieces
- Decorative paper clips (see previous post here for tutorial on them) or clothespins
- Ribbon
- Removable hooks or nails
- Glue
- Christmas story and number print outs (included for you below)
 I used several sources to write out the Christmas story in 24 small chunks. I even sent it to my pastor to make sure I told the story correctly and biblically 🙂 I attached it below, so the hard part is done for you. I also attached the numbers typed out to make it even easier. Just print and cut.
Advent Calendar Printable Numbers
Cut out the numbers and the portions of the story and glue them onto your cardboard pieces. The number on one side and the corresponding story part on the back.


Next, put two hooks or nails on both sides of your fireplace (or wherever you like, especially if you use your fireplace a lot).

Attach a strip of ribbon to each hook and hot glue a bow onto the hooks for decoration.


Then using your decorative paper clips or clothespins,
 hang your story cards along the ribbon with the numbers facing outward.
Then, beginning December 1, simply turn one card over each day to reveal a portion of the Christmas story.

On December 24, your whole story is revealed and you can all read it together as a family.
I hope you have fun with this idea. We can’t control how society is commercializing all of our holidays, so it’s up to us to keep the true meaning of Christmas alive.
xo
Pine Cone Holiday Projects
With the sunshine, air conditioning, and trips to the pool, it’s hard to start thinking about Christmas already. But now is the perfect time for this holiday project because your materials (pine cones) will be free. Plus, cleaning and sun-drying them is easier, and having this done will give you one less thing to worry about when the holidays do come around!
First, collect some pines cones that have fallen to the ground, clean them in a bucket with water and a tiny bit of bleach. You can also collect the sweetgum balls that have fallen, which are those ping-ping sized balls with spikes on them that fall from trees.

Lay them in the sun to dry (all day). You many want to turn them and dry them the next day as well. You want them completely dry.

Then spray them with spray paint. I used red and silver but could you do blue for Hanukah, gold, white or any color you want!


Once these are dry you can put them in holiday bowls or display them on plates or other containers. I found this old, gold mirror and just updated it with white paint.

I just used painter’s tape to cover the mirror and used a basic white spray paint.

I just put a few of the cones on the mirror for this look…

and glued some on wine corks for holiday wine stoppers. These would be cute for holiday parties and would also make cute gifts.
 Your centerpiece could hold the table’s wine…

While we are setting our holiday table, let’s make some napkin rings. Just tie a ribbon around the pine cone.

Just pull it through the little tabs in the cone so the ribbon knot is hidden tight inside the cone.

Wrap the ribbon around your napkin,

and tie in a bow in the back.

And there you go.

 Now, go treat yourself to a margarita by the pool. You deserve it. You just saved yourself time and money for this coming Christmas!
For a new, DIY idea to come to you each week, follow Maggie May’s now!
